How to Setup a VPS with Nginx Proxy Manager and Portainer
Table of Contents
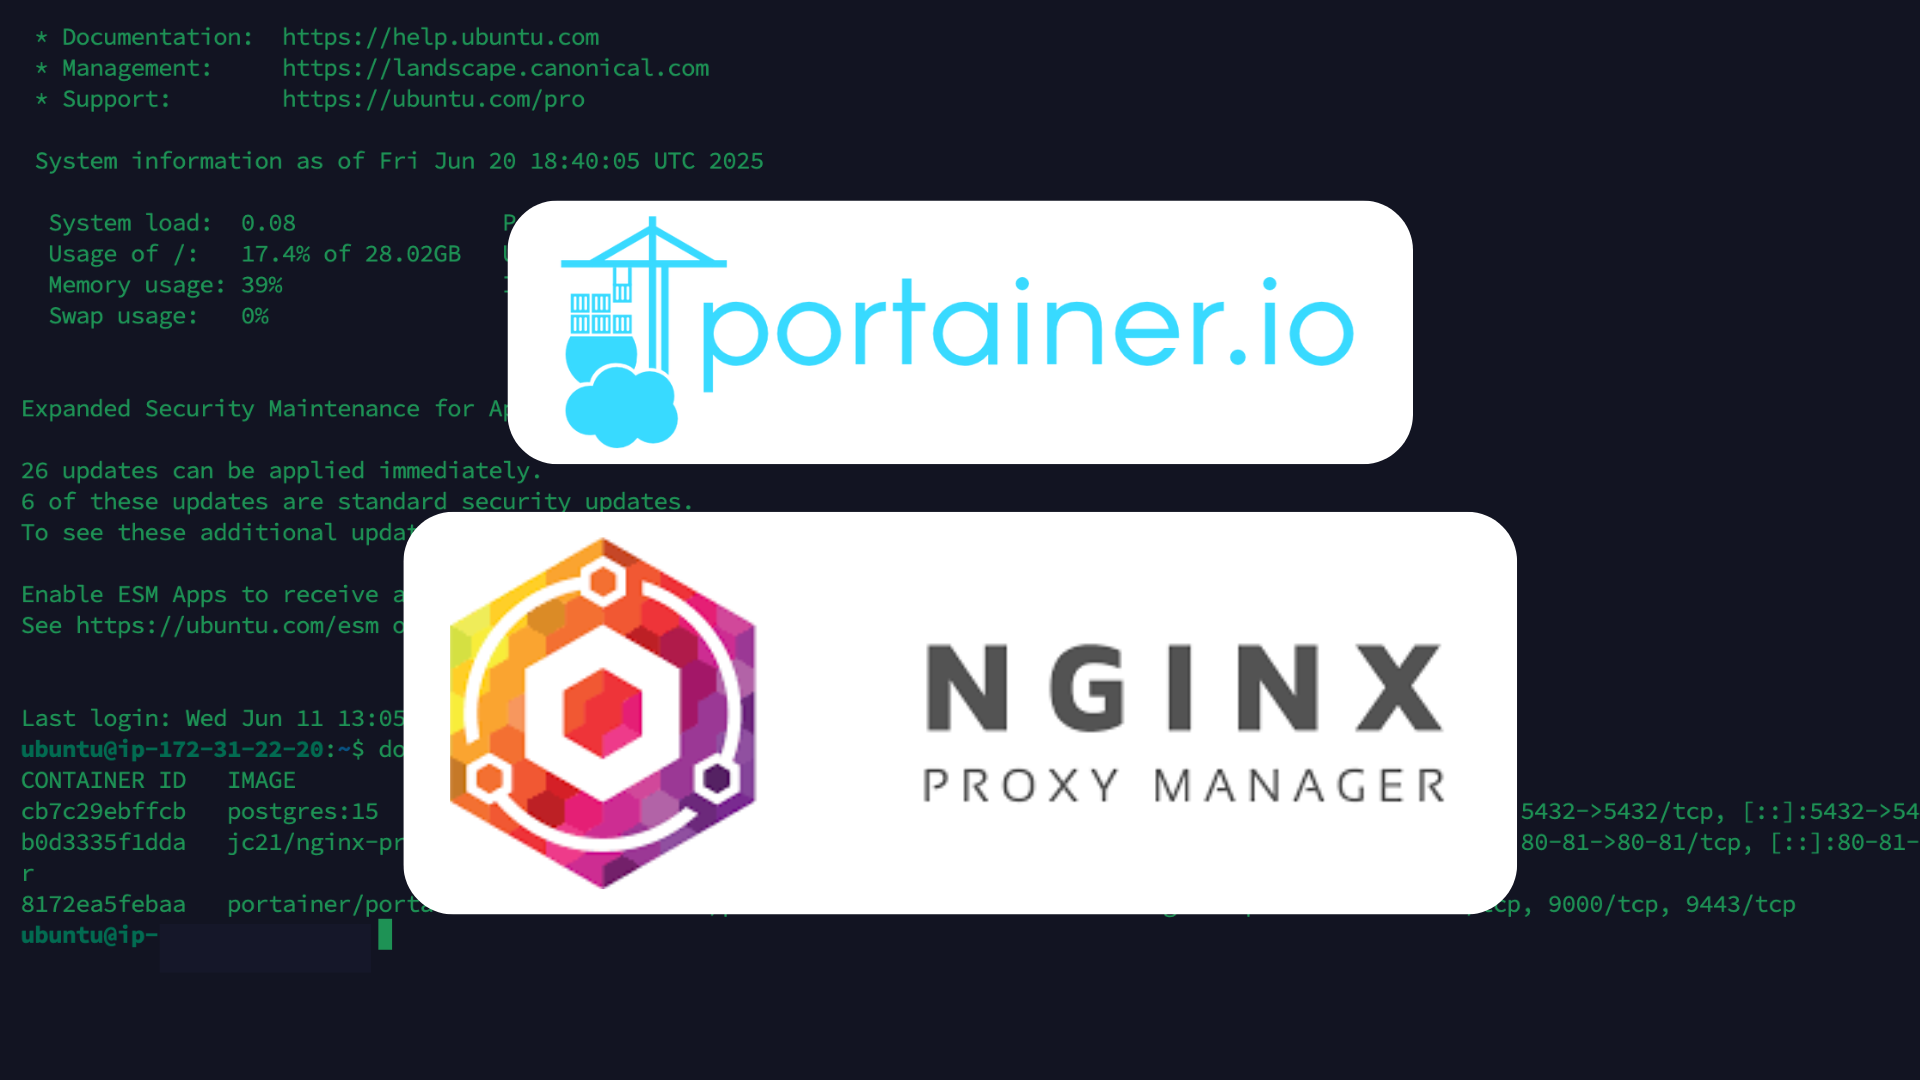
How to Setup a VPS with Nginx Proxy Manager and Portainer
In this guide, we'll go through a lightweight alternative to CyberPanel for managing your server. By using Nginx Proxy Manager for reverse proxy and Portainer for container management, you gain more flexibility and control without the overhead of traditional web panels.
⚠️ This guide assumes your VPS is already configured with the necessary user authentication, permissions, and security hardening.
1. Initial Server Access and Update
First, access your VPS via SSH. Any SSH client will work - tools like Termius or your terminal are fine.
Log in to the Server and Update System Packages
ssh root@203.54.168.221
sudo apt update && sudo apt upgrade -y
Replace 203.54.168.221 with your VPS's actual IP address.
2. Install Docker and Docker Compose
If Docker is not already installed on your VPS, you can install it using:
curl -fsSL https://get.docker.com | bash
Then install Docker Compose:
sudo apt install docker-compose -y
Verify installation:
docker --version
docker-compose --version
3. Create a Custom Docker Network
We will create a custom Docker network to ensure Nginx Proxy Manager and Portainer can communicate internally.
docker network create my-proxy-network
This network will be referenced in both Docker Compose files.
4. Deploy Nginx Proxy Manager
Now let’s set up Nginx Proxy Manager (NPM) to act as our reverse proxy and SSL manager.
Step 1: Create a Folder for NPM
mkdir nginx-proxy-manager
cd nginx-proxy-manager
nano docker-compose.yml
Step 2: Paste the Docker Compose Configuration
version: '3.8'
services:
  nginx-proxy-manager:
    image: 'jc21/nginx-proxy-manager:latest'
    restart: unless-stopped
    container_name: nginx-proxy-manager
    ports:
      - '80:80' # Public HTTP Port
      - '443:443' # Public HTTPS Port
      - '81:81' # Admin Web Port (Access NPM UI here)
    volumes:
      - ./npm-data:/data
      - ./letsencrypt:/etc/letsencrypt
    networks:
      - my-proxy-network

networks:
  my-proxy-network:
    external: true
Step 3: Start the Container
docker-compose up -d
You can now access Nginx Proxy Manager via http://your-server-ip:81.
Default credentials:
- Email:
admin@example.com - Password:
changeme
5. Deploy Portainer
Now we’ll set up Portainer to manage your Docker containers via a GUI.
Step 1: Navigate to Root and Create a Folder
cd ..
mkdir portainer
cd portainer
nano docker-compose.yml
Step 2: Paste the Docker Compose Configuration
version: '3.8'
services:
  portainer:
    image: portainer/portainer-ce:latest
    restart: unless-stopped
    container_name: portainer
    volumes:
      - /var/run/docker.sock:/var/run/docker.sock
      - portainer_data:/data
    networks:
      - my-proxy-network

volumes:
  portainer_data:

networks:
  my-proxy-network:
    external: true
Step 3: Start the Container
docker-compose up -d
By default, Portainer runs on port 9000, but we won't expose this port directly. Instead, we'll use Nginx Proxy Manager to route traffic securely.
6. Configure Domain and Secure Access via Nginx Proxy Manager
To expose Portainer securely over HTTPS:
-
Create a subdomain for Portainer (e.g.,
portainer.yourdomain.com). You can do this using the advanced DNS settings provided by your domain registrar. -
Point the subdomain to your server's public IP (
203.54.168.221) using an A record. -
Log in to Nginx Proxy Manager at
http://yourdomain.com:81. -
Navigate to Proxy Hosts → Add Proxy Host.
-
Fill in the following details:
- Domain Names:
portainer.yourdomain.com - Scheme:
http - Forward Hostname / IP:
portainer(this should match the container name) - Forward Port:
9000 - Cache Assets: Enable
- Block Common Exploits: Enable
- Websockets Support: Enable
- Domain Names:
-
Switch to the SSL tab, request a new Let’s Encrypt certificate, and agree to the terms of service. Also, enable the following (optional but recommended):
- Force SSL: Enable
- HTTP/2 Support: Enable
- HSTS Enabled: Enable
- HSTS Include Subdomains: Enable
Once saved, you’ll be able to access Portainer securely via https://portainer.yourdomain.com.
You're Done!
You now have:
- Nginx Proxy Manager handling your reverse proxies and SSL.
- Portainer managing your Docker containers.
- A lightweight, modular alternative to CyberPanel.
End Note
I previously used CyberPanel to manage my VPS, but found it to be resource-heavy and packed with features I rarely used. It consumed a noticeable amount of system resources, which wasn’t ideal for my minimal and container-based setup.
That’s why I switched to this lightweight alternative using Nginx Proxy Manager and Portainer. It’s modular, efficient, and gives me full control over my Docker environment without unnecessary overhead.
These are the exact steps I followed to configure my own VPS, and the setup has served me reliably so far.
If you have questions, need automation scripts, or want help troubleshooting issues, feel free to reach out. I'm happy to share more insights based on hands-on experience.
Thank you for following this guide!